How to Build a Fire-Resistant House
In this article, we will begin a series entitled “How to Build a Sustainable Home.” First, we must mention the natural disasters that can affect modern dwellings. These include fire, water, wind, earthquakes, hail, landslides, and other factors that affect a house’s sustainability.
Fires are a common occurrence
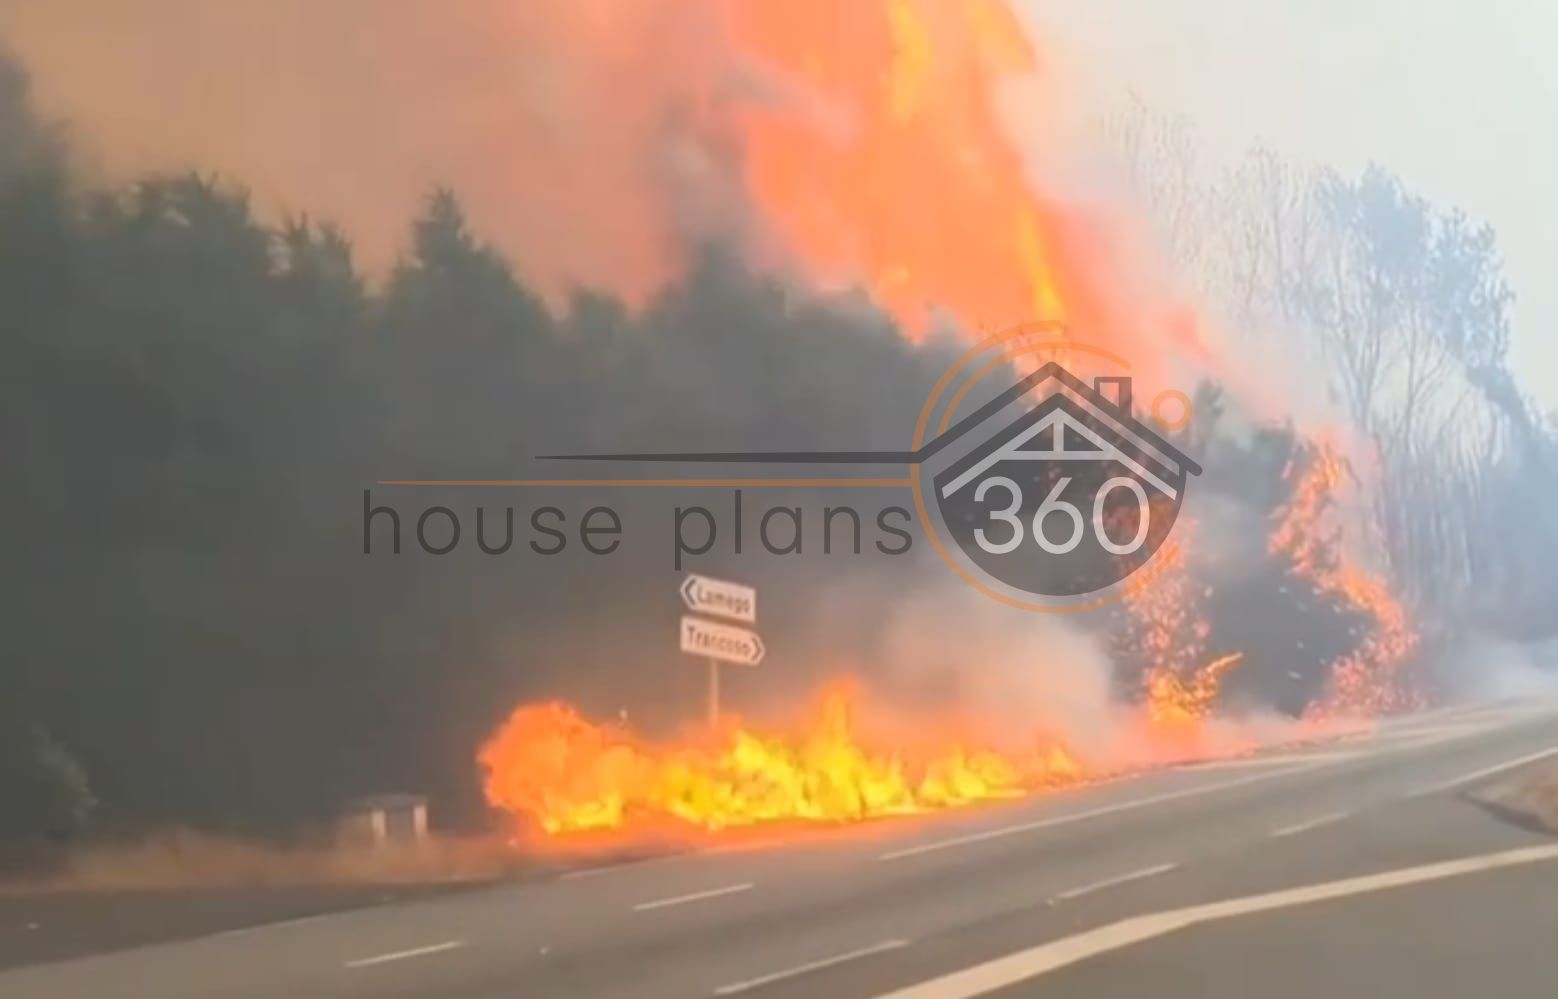 This article will not discuss fires caused by human activity inside homes. A wealth of information, standards, and regulations already govern the use of fire-resistant materials and devices that prevent or slow the spread of fire. Now, we will discuss fire resistance, as fires are increasingly occurring in various parts of the globe. This phenomenon has both natural and external sources. This is usually preceded by factors that contribute to fires in open areas. The main factor is drought, which occurs due to a lack of natural precipitation. Several factors that coincide in time can also cause this phenomenon.
How are residential buildings and other adjacent structures exposed to fire? It is important to determine how and under what conditions residential buildings may be affected. Natural fires often spread by burning dry wood and other vegetation. When these materials dry out, they become highly combustible. At the same time, a large amount of heat is released in a short period of time in a given area. Additionally, wind carries combustible particles, such as branches and leaves, over long distances, creating new sources 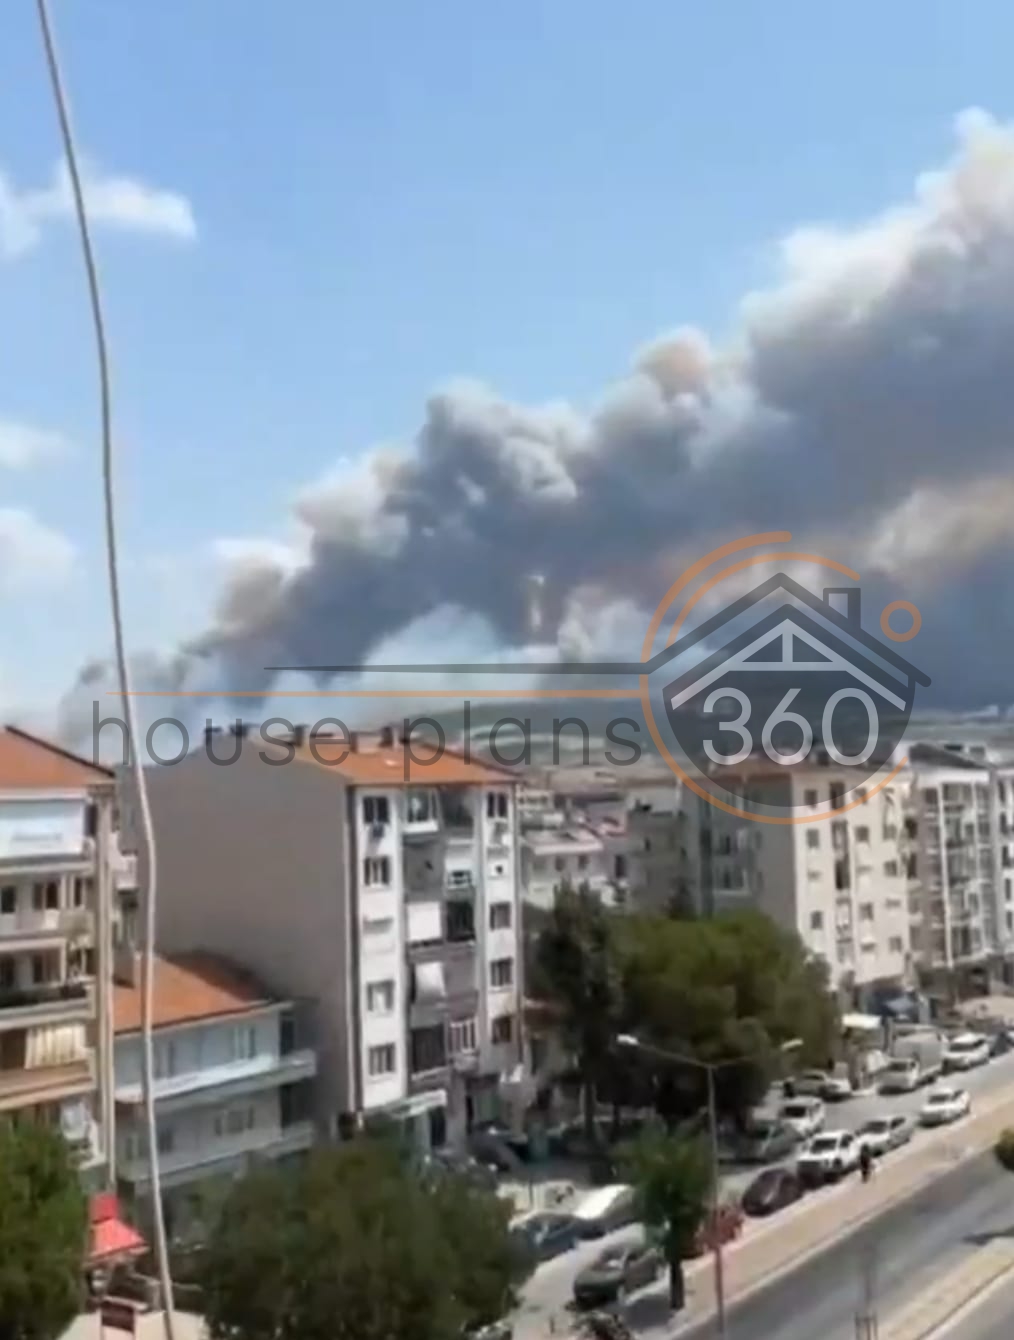 of ignition. Thus, buildings are exposed to high temperatures and small sources of ignition carried over long distances in a short period of time.
Fire Resistance of Building Structures and Materials
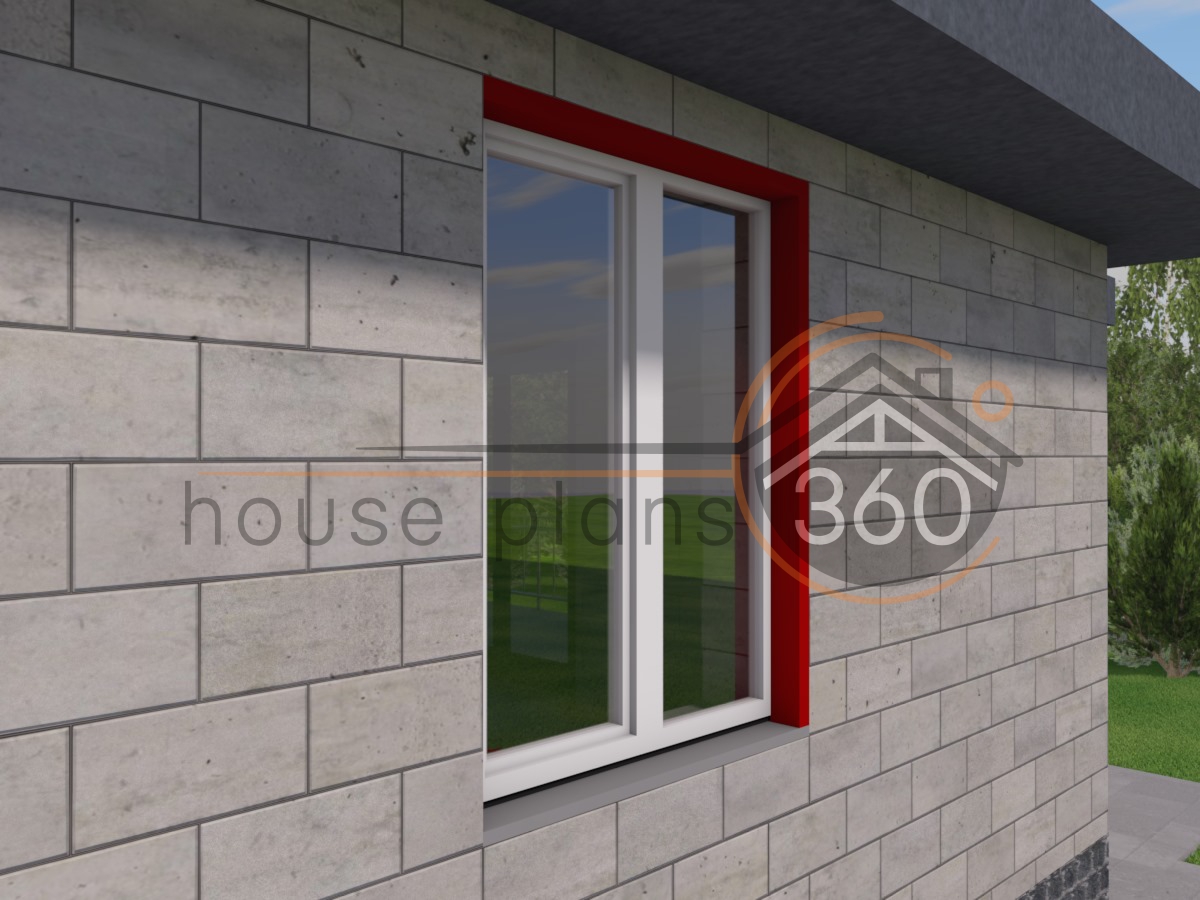
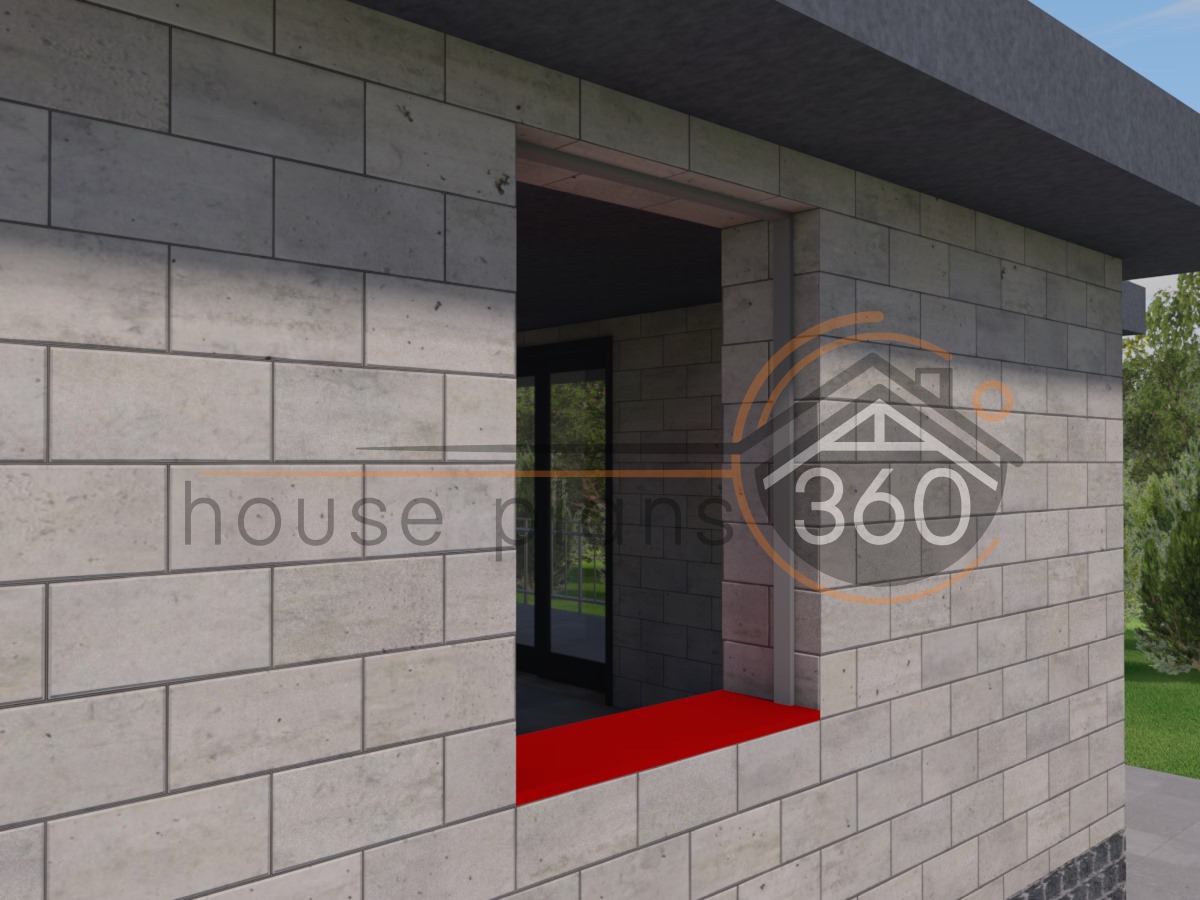
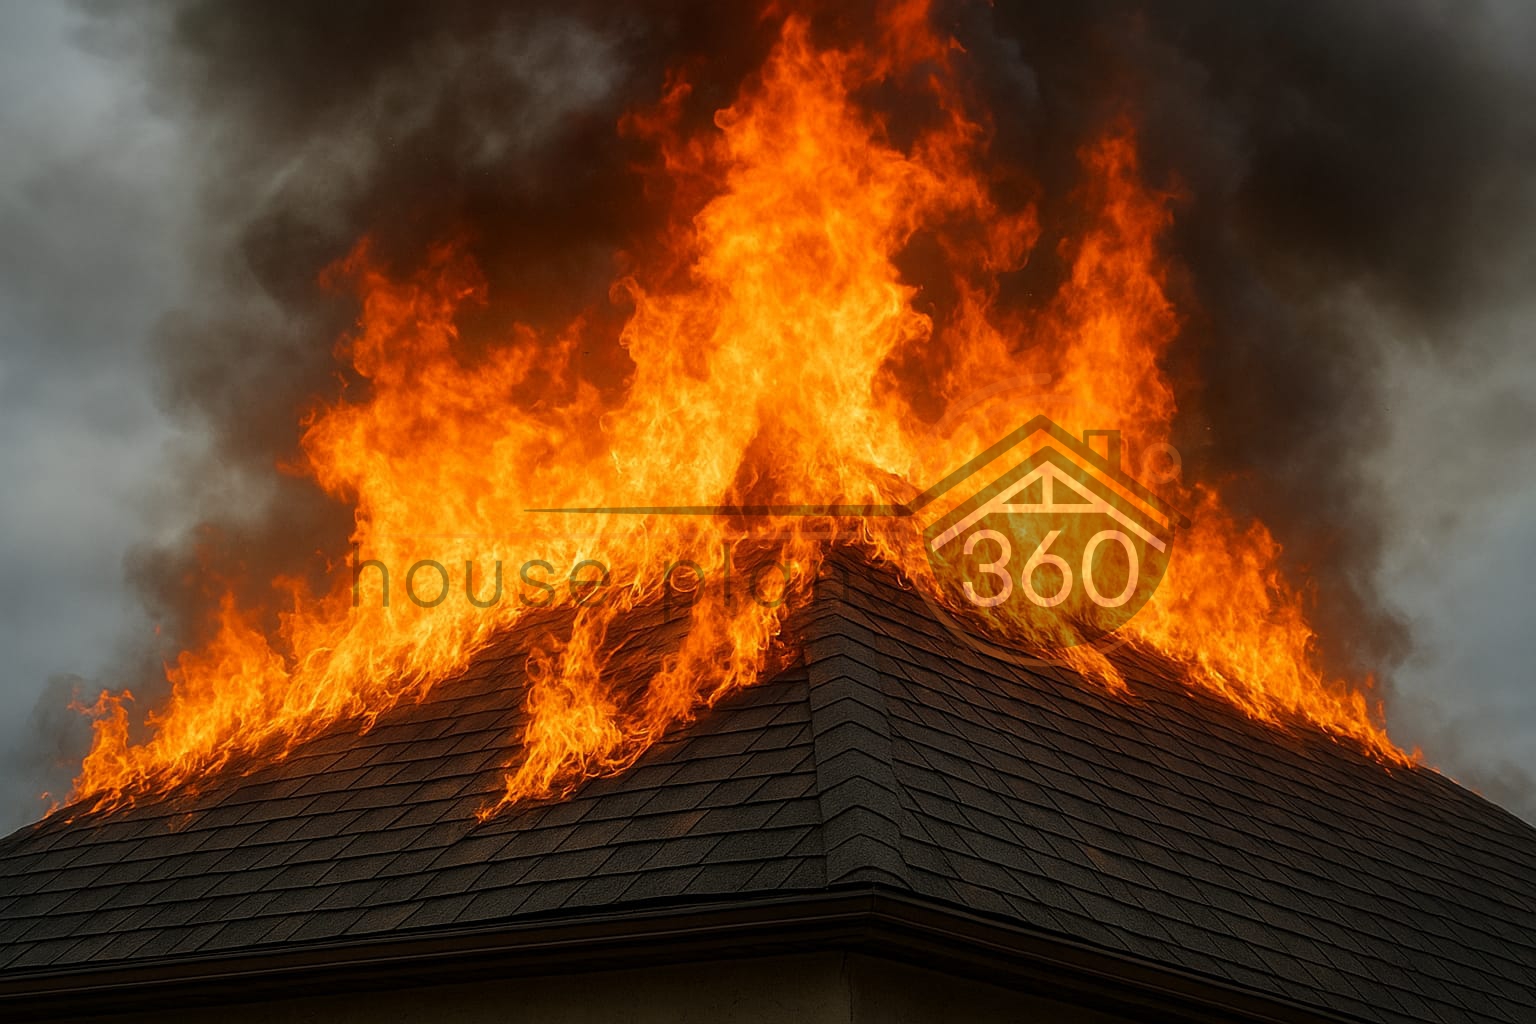
Now, let’s discuss the second source of fires and how to combat it. Burning particles carried by the wind are too small to be a source of fire themselves. However, they can easily ignite flammable objects. Since dry vegetation is absent in residential areas, flammable objects should be sought on the buildings themselves. The famous phrase, “The stability of a building is characterized by the stability of its weakest structure,” has not yet been refuted. This expression applies not only to fire safety, but also to seismic stability. We will discuss seismic stability in a separate article titled “How to Build a Seismic-Resistant House.” One of the first things in the path of burning particles spread by the wind is the roof of a house. Often, the roof is the weakest structure in terms of fire resistance. Roofs are often made of highly flammable bituminous materials. While bituminous materials sometimes surpass their counterparts in other properties, they lose out in this case. This does not mean that bituminous coatings are prohibited, but it is necessary to consider the surrounding area when choosing a material.
 The first impact is a sharp rise in temperature over a short period of time. As mentioned above, bituminous roofs are susceptible to ignition from small sources of fire and even more so from large ones. What is the next possible target that should be eliminated? Wooden enclosing structures. Wood spontaneously combusts at temperatures between 330 and 400°C, especially with prolonged exposure. As we determined above, dry wood burns quickly. If the roof covering is made of non-combustible materials, it is difficult to cause spontaneous combustion of internal, load-bearing wooden structures. Therefore, some American states began using aerated concrete blocks as a barrier material. Of course, constructing such structures and connecting them to the main frame poses certain production difficulties. A reasonable question arises: Why not combine load-bearing and enclosing structures into one? This would solve several problems at once, simplifying the structure into a single-layer wall made of aerated concrete blocks. However, it is necessary to consider the increased mass of the entire structure due to the greater density of the material and the increased wall thickness. At the same time, we would achieve much better characteristics, not only in terms of fire resistance but also in terms of other equally important factors, which will be discussed in future articles in this series, “How to Build a Sustainable House.”